How to mysqldump without auto increment values in Windows

In order to run PHPUnit tests I use a boostrap file which uses mysqldump to export the ever-changing database schema without any data, and import it into the testing database. After using this method for a while I stumbled on a problem with the auto-increment values for the table primary keys. There is no easy way to get mysqldump to avoid including the next auto-increment value in the dump. The problem this causes is that if your tests depend on specific primary key values things will go wrong the second time you run your test suite. There is a way to fix this by piping mysqldump’s output into sed. Here’s the actual command:

mysqldump -d [devDB] | sed 's/AUTO_INCREMENT=[0-9]*//' >

This will work under Linux but sadly not on Windows which doesn’t have sed but there’s a solution for that. Read More
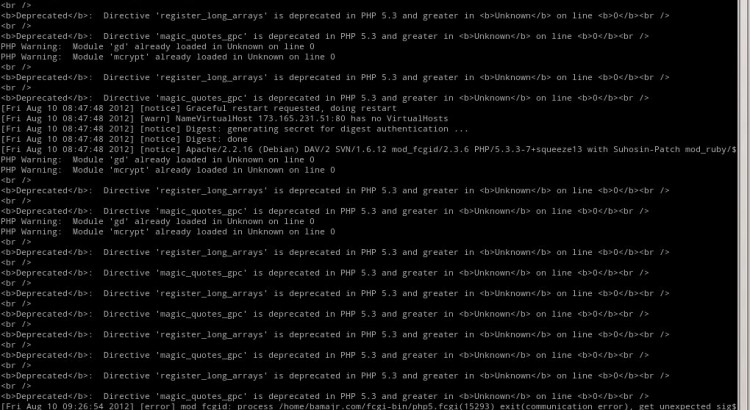
Unix-like Tail function in Windows without installing new software

Windows Powershell has a powerful command that lets you view the last lines of a text file or even monitor it for new lines, similar to tail -f command in Linux. Here’s some examples:


The following will view the last 10 lines of Apache’s log file:

PS c:\apache\logs> gc access.log -last 10

The following will view the whole apache log file and when done, will continue waiting for new entries:

PS c:\apache\logs> gc access.log -wait

Of course the previous example is not very useful if your log file is already large, so you can combine the two commands and skip to the last lines like this:

PS c:\apache\logs> gc access.log -wait -last 10

Until I discovered the above command I used Tail Win32 to monitor log files, so this makes life easier.

How to free up disk space when using Google Chrome

I’ve been using Google Chrome for a while now and one great thing about it is that it automatically updates itself whenever a new version comes out (some would debate this is a bad thing but I feel like its a great thing especially for non very technical users – if this feature was in Internet Explorer 6 web developer’s life would have been so much easier today). Unfortunately for some weird reason after an update is made the previous version remains on disk, it doesn’t take up a lot of space by today’s standards (around 150-200mb) but for people like me whose job’s PC is stuck with a 100GB hard disk having 7 versions of  Chrome lying around makes a difference.

To get that space back all you have to do is delete the older versions. You can find them in C:\Users\username\AppData\Chrome\Application (change C and username to the ones that apply in your case). If you look into that folder you will find something like this:

Folders are named after the version build of Chrome, you can safely delete all of them except the latest release, in this case 11.0.696.25.